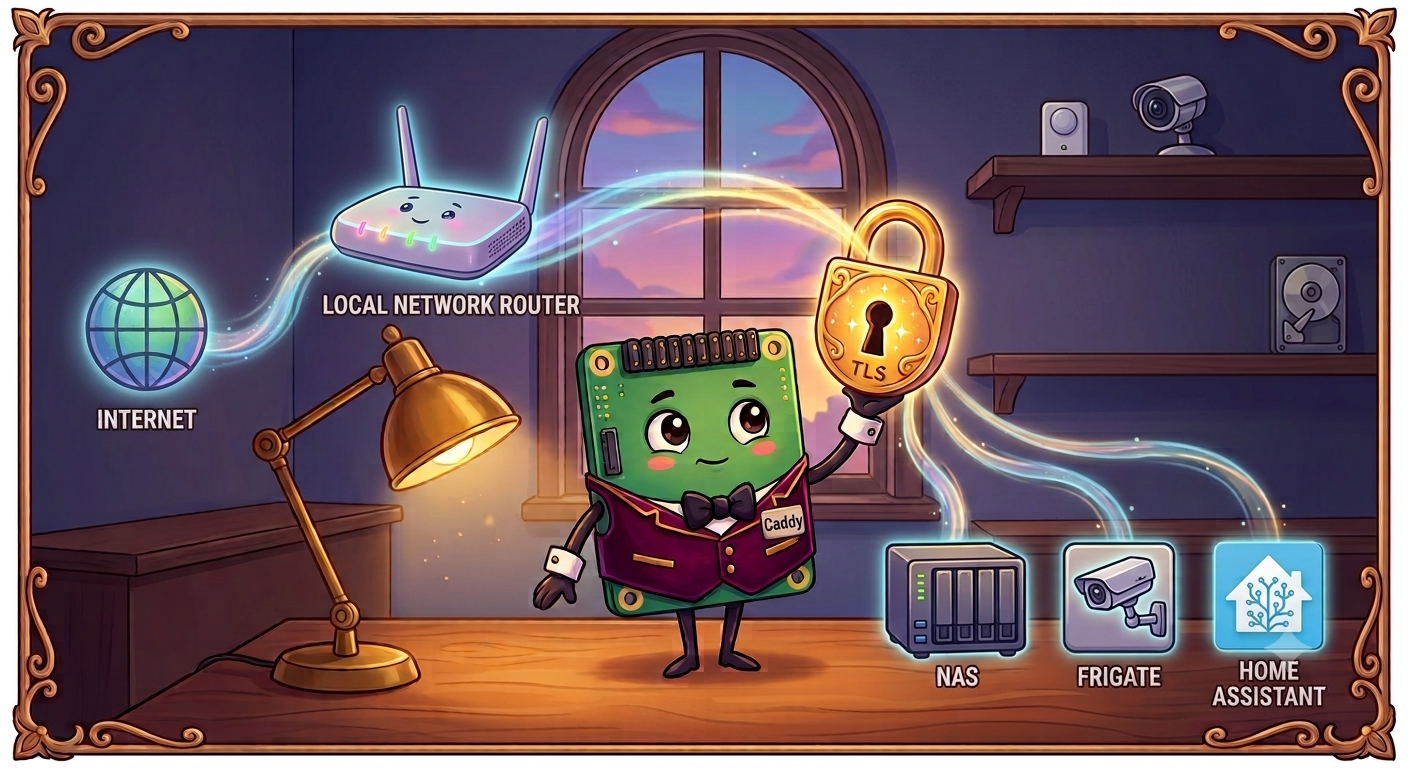
Running self-hosted tools on your home network is immensely satisfying, but typing IP addresses and ignoring browser security warnings gets old fast. I love having a clean, custom domain name backed by valid TLS encryption for all my home services. Using a Raspberry Pi 3B as a lightweight reverse proxy with Caddy makes this setup remarkably straightforward.
Building on my previous guide to Setting up a cheap home server using Raspberry Pi, I want to show you how to take your home lab security to the next level. Caddy is a modern web server that manages SSL and TLS certificates automatically via Let’s Encrypt, meaning you never have to configure renewal scripts manually. In this post, I’ll walk you through the exact steps I took to route traffic smoothly and secure private internal dashboards.
Step 1: Point Your DNS
First, log in to your domain registrar’s management console (such as Cloudflare, Namecheap, or Porkbun) and navigate to the DNS management tab. You’ll need to direct traffic for your domain towards your home network’s public IP address.
If your internet service provider changes your IP frequently, set up a CNAME record pointing your wildcard * host to a Dynamic DNS (DDNS) provider.
If your public IP address rarely changes, add an A record with a name of * (or @ for the root) and enter your current WAN IP address.
I chose to set up an A record because my home IP address stays stable for months at a time.
You can verify that your record has propagated by opening your terminal and running a quick query:
dig +short home.your-domain.com
If the command returns your home public IP address, your DNS is ready.
Step 2: Install Caddy
Next, connect to your Raspberry Pi or access point machine via SSH. Make sure your system is up to date before installing the official Caddy package.
For Debian and Raspberry Pi OS, follow the instructions from the official Caddy installation documentation:
sudo apt update
sudo apt install -y debian-keyring debian-archive-keyring apt-transport-https curl
curl -1sLf 'https://dl.cloudsmith.io/public/caddy/stable/gpg.key' | sudo gpg --dearmor -o /usr/share/keyrings/caddy-stable-archive-keyring.gpg
curl -1sLf 'https://dl.cloudsmith.io/public/caddy/stable/debian.deb.txt' | sudo tee /etc/apt/sources.list.d/caddy-stable.list
sudo apt update
sudo apt install caddy
After installation completes, assign a fixed local IP address to your Raspberry Pi so its LAN location never shifts.
Log in to your home router’s admin portal (usually found at 192.168.1.1 or 192.168.0.1), locate the DHCP settings section, and add a static IP reservation for your Pi’s MAC address.
Step 3: Forward Router Ports
Now you must configure your router to pass external web traffic to your Raspberry Pi. Open your router’s port forwarding menu and create two new rules targeting your Pi’s static local IP address.
Forward WAN Port 80 to LAN Port 80 on your Raspberry Pi. Forward WAN Port 443 to LAN Port 443 on your Raspberry Pi.
Port 80 is essential because Caddy uses it to complete Let’s Encrypt HTTP-01 challenge checks, which automatically prove domain ownership. Port 443 handles your encrypted HTTPS traffic and allows Caddy to redirect plain HTTP attempts to secure connections seamlessly.
Step 4: Verify HTTPS Access
Before adding custom applications, verify that Caddy can request and receive a valid TLS certificate from Let’s Encrypt. Ensure Caddy is running on your Raspberry Pi:
sudo systemctl status caddy
Open a web browser on a separate device, such as your mobile phone over cellular data, and visit your custom domain name. You should see the default “Welcome to Caddy” landing page loading over HTTPS with a valid padlock icon in the browser address bar.
If the page loads over HTTPS, your port forwarding, DNS configuration, and automatic certificate issuance are working properly.
Step 5: Configure the Caddyfile
With base connectivity confirmed, open Caddy’s configuration file on your Raspberry Pi:
sudo nano /etc/caddy/Caddyfile
You can now define site blocks to serve local files, proxy network services, and restrict access to private tools.
Host a static site
To host static HTML files directly from the Raspberry Pi, add a site block using the file_server directive:
mysite.your-domain.com {
    root * /var/www/mysite
    file_server
}
Proxy network services
If you run homelab applications like Home Assistant or Plex on another device in your house, pass traffic to it using reverse_proxy:
app.your-domain.com {
    reverse_proxy 192.168.1.234:9876
}
Replace 192.168.1.234:9876 with the specific local IP address and port of your hosted service.
Restrict access to local network connections
Not every service should be reachable by the public internet.
You can create a reusable snippet block called (local_only) at the top of your Caddyfile:
(local_only) {
    @external not remote_ip 192.168.1.0/24 127.0.0.1 ::1
    header @external Cache-Control "no-store, no-cache, must-revalidate, max-age=0"
    respond @external "Access Denied" 403
}
The snippet syntax uses parentheses (local_only) to define a named macro that can be imported across multiple site blocks.
The @external matcher checks incoming requests and triggers if the client IP does not belong to your local subnet or loopback addresses.
If your home network uses a different subnet mask, adjust 192.168.1.0/24 to match your local IP range.
For instance, if your router assigns IP addresses like 192.168.0.X, change the CIDR block to 192.168.0.0/24.
If your network uses the 10.0.X.X range, use 10.0.0.0/24 or 10.0.0.0/16 accordingly.
To apply this protection to a private subdomain, import the snippet inside a route block:
private.your-domain.com {
    route {
        import local_only
        reverse_proxy 192.168.1.234:9876
    }
}
When external users attempt to open private.your-domain.com, Caddy blocks the connection with a 403 Access Denied response and cache-prevention headers.
Devices connected to your local network or VPN can access the service without interruption.
Once you have saved your edits, validate and reload Caddy to apply the changes:
caddy validate --config /etc/caddy/Caddyfile
sudo systemctl reload caddy
Wrapping Up
Setting up Caddy with a custom domain name transforms how you interact with your self-hosted infrastructure. You get automatic, zero-touch TLS certificate renewals, clean domain URLs, and fine-grained access control over your network. If you’re looking for more ways to enhance your home setup, explore my related posts on Self Hosting and IoT. Happy hosting!